Next.jsでのPWAの仕方
はじめに
おはようございます。こんにちは。こんばんは。
Watatakuです。
今回の記事はこのサイトをPWAにしたよと報告と
Next.jsでのPWAの仕方を書いていきます。
PWAとは
PWAはプログレッシブウェブアプリ(Progressive web apps)の略で、
ウェブアプリをネイティブアプリのように使えるようにする仕組みのことです。
実際にやっていく
以下のコマンドを用いて、next-pwaをインストールします。
$ npm install next-pwa
インストール後、next.config.jsに以下を記述。
const withPWA = require("next-pwa");

module.exports = withPWA({
  pwa: {
    dest: "public",
  },
});
PWA実装に必要なものは
- アイコン
- App Manifest(manifest.json)
- Service Worker
他にもWEBサイトのURLがhttpsでないといけないなど様々な条件があります。詳しくはこちら。
そこで便利なのがこちらの様々なファビコンを一括生成。favicon generator
こちらでアイコンとApp Manifestなどが作られるので、全てpublicディレクトリ
に格納してください。
格納後、manifest.jsonを編集します。
※下記マニフェストはこのサイトでのマニフェストです。
{
  "name": "Watataku's ブログ",
  "short_name": "ブログ",
  "description": "",
  "start_url": "/",
  "display": "standalone",
  "orientation": "any",
  "background_color": "#fff",
  "theme_color": "#fff",
  "icons": [
    {
      "src": "/android-chrome-36x36.png",
      "sizes": "36x36",
      "type": "image/png"
    },
    {
      "src": "/android-chrome-48x48.png",
      "sizes": "48x48",
      "type": "image/png"
    },
    {
      "src": "/android-chrome-72x72.png",
      "sizes": "72x72",
      "type": "image/png"
    },
    {
      "src": "/android-chrome-96x96.png",
      "sizes": "96x96",
      "type": "image/png"
    },
    {
      "src": "/android-chrome-128x128.png",
      "sizes": "128x128",
      "type": "image/png"
    },
    {
      "src": "/android-chrome-144x144.png",
      "sizes": "144x144",
      "type": "image/png"
    },
    {
      "src": "/android-chrome-152x152.png",
      "sizes": "152x152",
      "type": "image/png"
    },
    {
      "src": "/android-chrome-192x192.png",
      "sizes": "192x192",
      "type": "image/png"
    },
    {
      "src": "/android-chrome-256x256.png",
      "sizes": "256x256",
      "type": "image/png"
    },
    {
      "src": "/android-chrome-384x384.png",
      "sizes": "384x384",
      "type": "image/png"
    },
    {
      "src": "/android-chrome-512x512.png",
      "sizes": "512x512",
      "type": "image/png"
    }
  ]
}
編集後、src/pagesディレクトリに_document.tsxを作成し、
以下のようにHeadのなかでアイコン、manifest.jsonなどを読み込んでいきます。
import Document, {
  Html,
  Head,
  Main,
  NextScript,
} from "next/document";

class MyDocument extends Document {
  render() {
    return (
      <Html lang="ja-JP" dir="ltr">
        <Head>
          {/* windows */}
          <meta
            name="msapplication-square70x70logo"
            content="/site-tile-70x70.png"
          />
          <meta
            name="msapplication-square150x150logo"
            content="/site-tile-150x150.png"
          />
          <meta
            name="msapplication-wide310x150logo"
            content="/site-tile-310x150.png"
          />
          <meta
            name="msapplication-square310x310logo"
            content="/site-tile-310x310.png"
          />
          <meta name="msapplication-TileColor" content="#000" />


          {/* safari */}
          <meta name="apple-mobile-web-app-capable" content="yes" />
          <meta name="apple-mobile-web-app-status-bar-style" content="#000" />
          <meta name="apple-mobile-web-app-title" content="myapp" />
          <link
            rel="apple-touch-icon"
            sizes="180x180"
            href="/apple-touch-icon-180x180.png"
          />
          {/* 一般 */}
          <meta name="application-name" content="myapp" />
          <meta name="theme-color" content="#000" />
          <link rel="icon" sizes="192x192" href="/icon-192x192.png" />
          <link rel="icon" href="/favicon.ico" />
          <link rel="manifest" href="/manifest.json" />
        </Head>
        <body>
          <Main />
          <NextScript />
        </body>
      </Html>
    );
  }
}

export default MyDocument;
PWAの確認
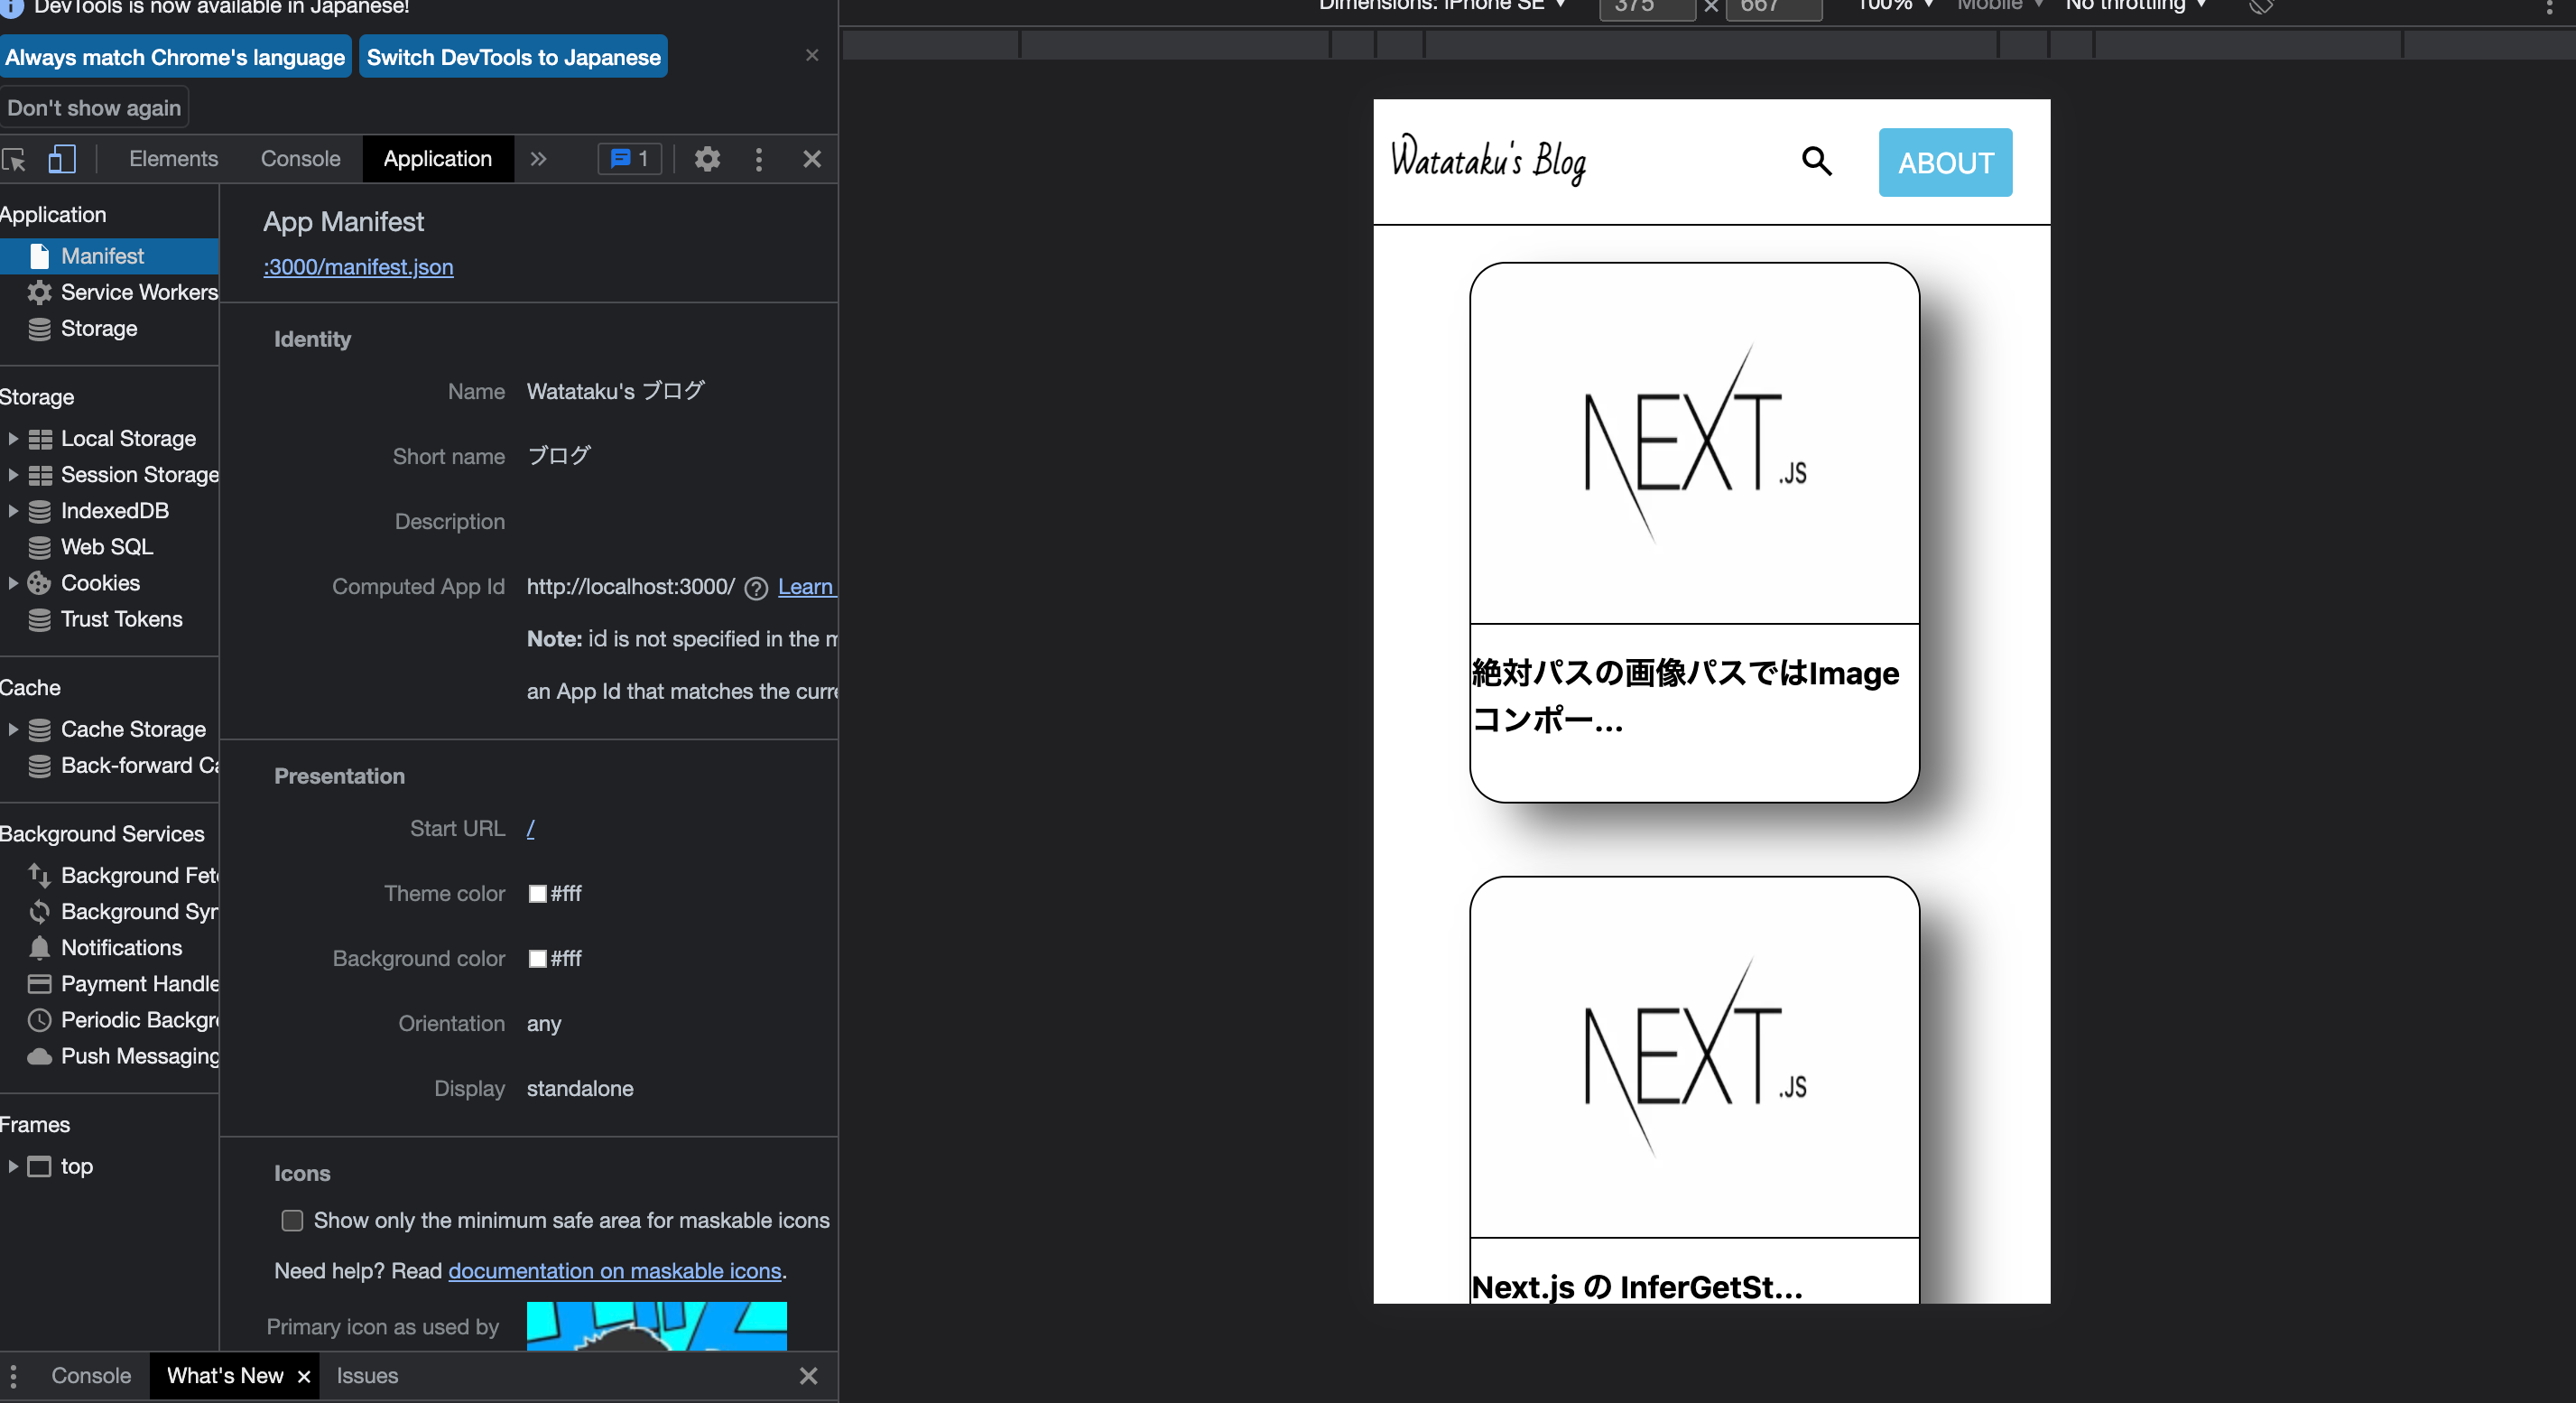
localhostで開き、デベロッパーツールを見るとServiceWorkerが登録されていることがわかります。
一回読み込んでしまえば、オフラインにして再読み込みしてもちゃんと読み込まれます。これでオフラインで動作する事は確認はできました!
また、右上に以下のダウンロードボタンも確認できます。
追記(2022.01.27)
PWAになっていない問題。
この記事で解決できました。
追記(2023.06.11)
next-pwaの設定が方法が5.6から変わっていました。
下記のようにnext.config.jsを書き換えてください。出ないとエラりますw
 /** @type {import('next').NextConfig} */
const withPWA = require('next-pwa')({
  dest: 'public'
})

module.exports = withPWA({
  reactStrictMode: true
});
まとめ
以上がNext.jsでのPWAの仕方です。
もし、Next.jsのPWAの仕方がわからない方へのご参考になればと思います。
